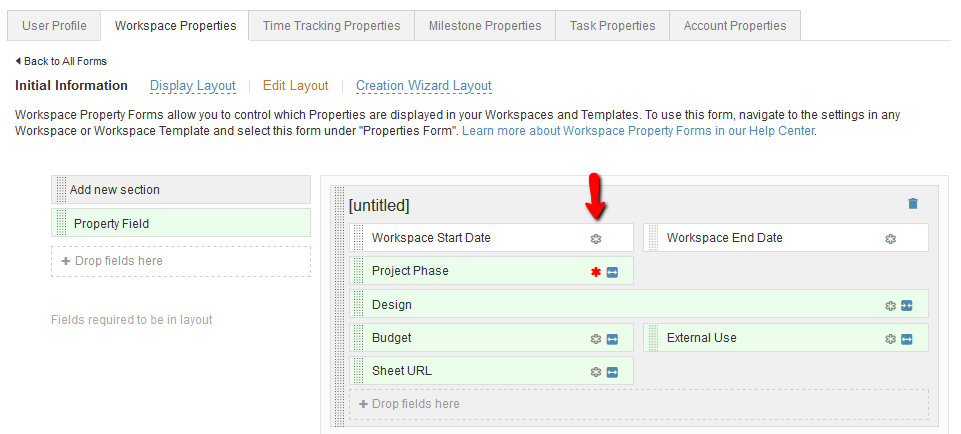
Workspace Forms allow you to control which workspace properties are displayed in your workspaces and workspace templates.
To access and create forms, navigate to the company admin menu (gear icon in the top right) and select Company Setup>Custom Fields>Workspace Properties>Forms. Please note that only company admins can create and edit forms.
To create a new form, click on the "New Form" button in the top left. On the pop up box that appears, title the form, add a description if desired, and clone from an existing form if desired.

To edit or delete an existing form, select the drop down menu that appears when you hover to the far right of the form.

From this menu, you can edit the description/title or the layout of the form, delete the form, or set the form as the default form for your newly created workspaces or templates where a form is not already selected.

To add and rearrange fields on the form select Modify Layout. Now you can mark fields as required on the form by selecting the asterisk. Select apply to all layouts before saving changes to apply your layout changes to both the Display and Edit Layout.

To enable a form in a workspace, navigate to the workspace and select Settings>General Settings>Configuration Options. On this page, select the desired form in the "Properties Form" section.

