A workspace can be used by its members in many different, configurable ways, one of which is as a dedicated project workspace. The purpose of specifically identifying a workspace as a project is so project parameters can be defined, such as the start/end date, status, etc., to identify the scope and attributes of the project.
Note: Only workspace administrators can edit workspace properties.

Enabling a project workspace
To begin working with project workspaces, a workspace must be marked as a project first. To do so, navigate to the Settings tab and and mark the workspace as a project.
Note: you can enable the Properties tab from Tab Options.

Custom workspace properties

Custom properties can be configured to ensure all relevant project information is kept in a central location. Custom fields might include primary client contact, cost, department, and more depending on the nature and extent of the project.
To add or edit custom Workspace Properties, navigate to the company admin menu (gear icon on the top right) and select Company Setup > Custom Fields > Workspace Properties.
The available options are:
- Forms: Create and edit the workspace property forms used in your templates and project spaces.
- List Layout: Use this page to add and remove columns from the "Manage Workspace" page
- Edit Workspace Property Fields: edit custom workspace property fields
- Add Workspace Property Fields: add new custom workspace property fields
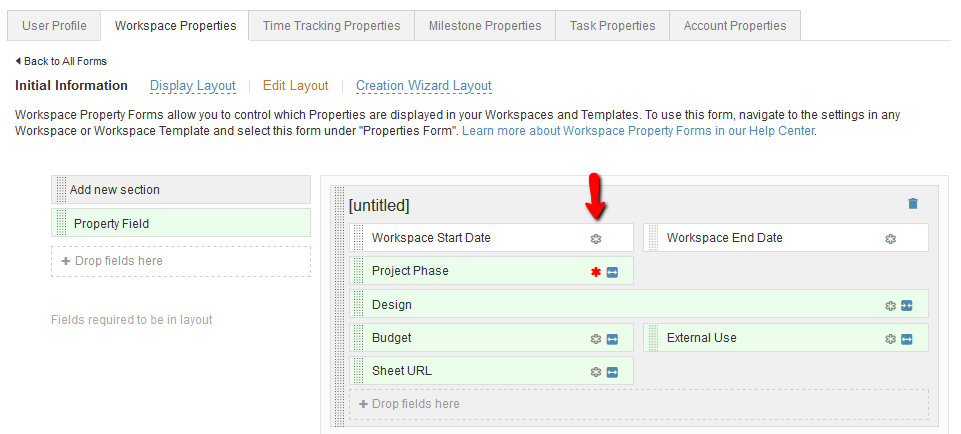
To edit or delete an existing form, select the drop-down menu that appears when you hover to the far right of the form.

To add and rearrange fields on the form select Modify Layout. Now you can mark fields as required on the form by selecting the asterisk. Select apply to all layouts before saving changes to apply your layout changes to both the Display and Edit Layout.
Creating new custom workspace properties

- Field Name: This is what the field will be called, such as Primary Client Contact, Department, etc.
- Field Type: Use the drop-down menu to select the appropriate field type.
- Default Value: This is the value that will be pre-populated for all projects unless changed.